Carrot Cage

The first Carrot Cage was built to keep the squirrels off, this was covered with 10mm plastic netting and did the job.  However I still suffered badly from Carrot Fly attack and so built a new improved Carrot Cage which uses a much finer mesh (Ultra Fine Insect Mesh Netting) and this was very successful last year.  I've now built a smaller version and have documented how it was built here.

This cage is 42.5" deep, 19.5" high and 17" wide.  The depth just fits in the width of my raised beds.  The width was simply dictated by the timber cutting.  The larger cage has two lids and is 36" wide.

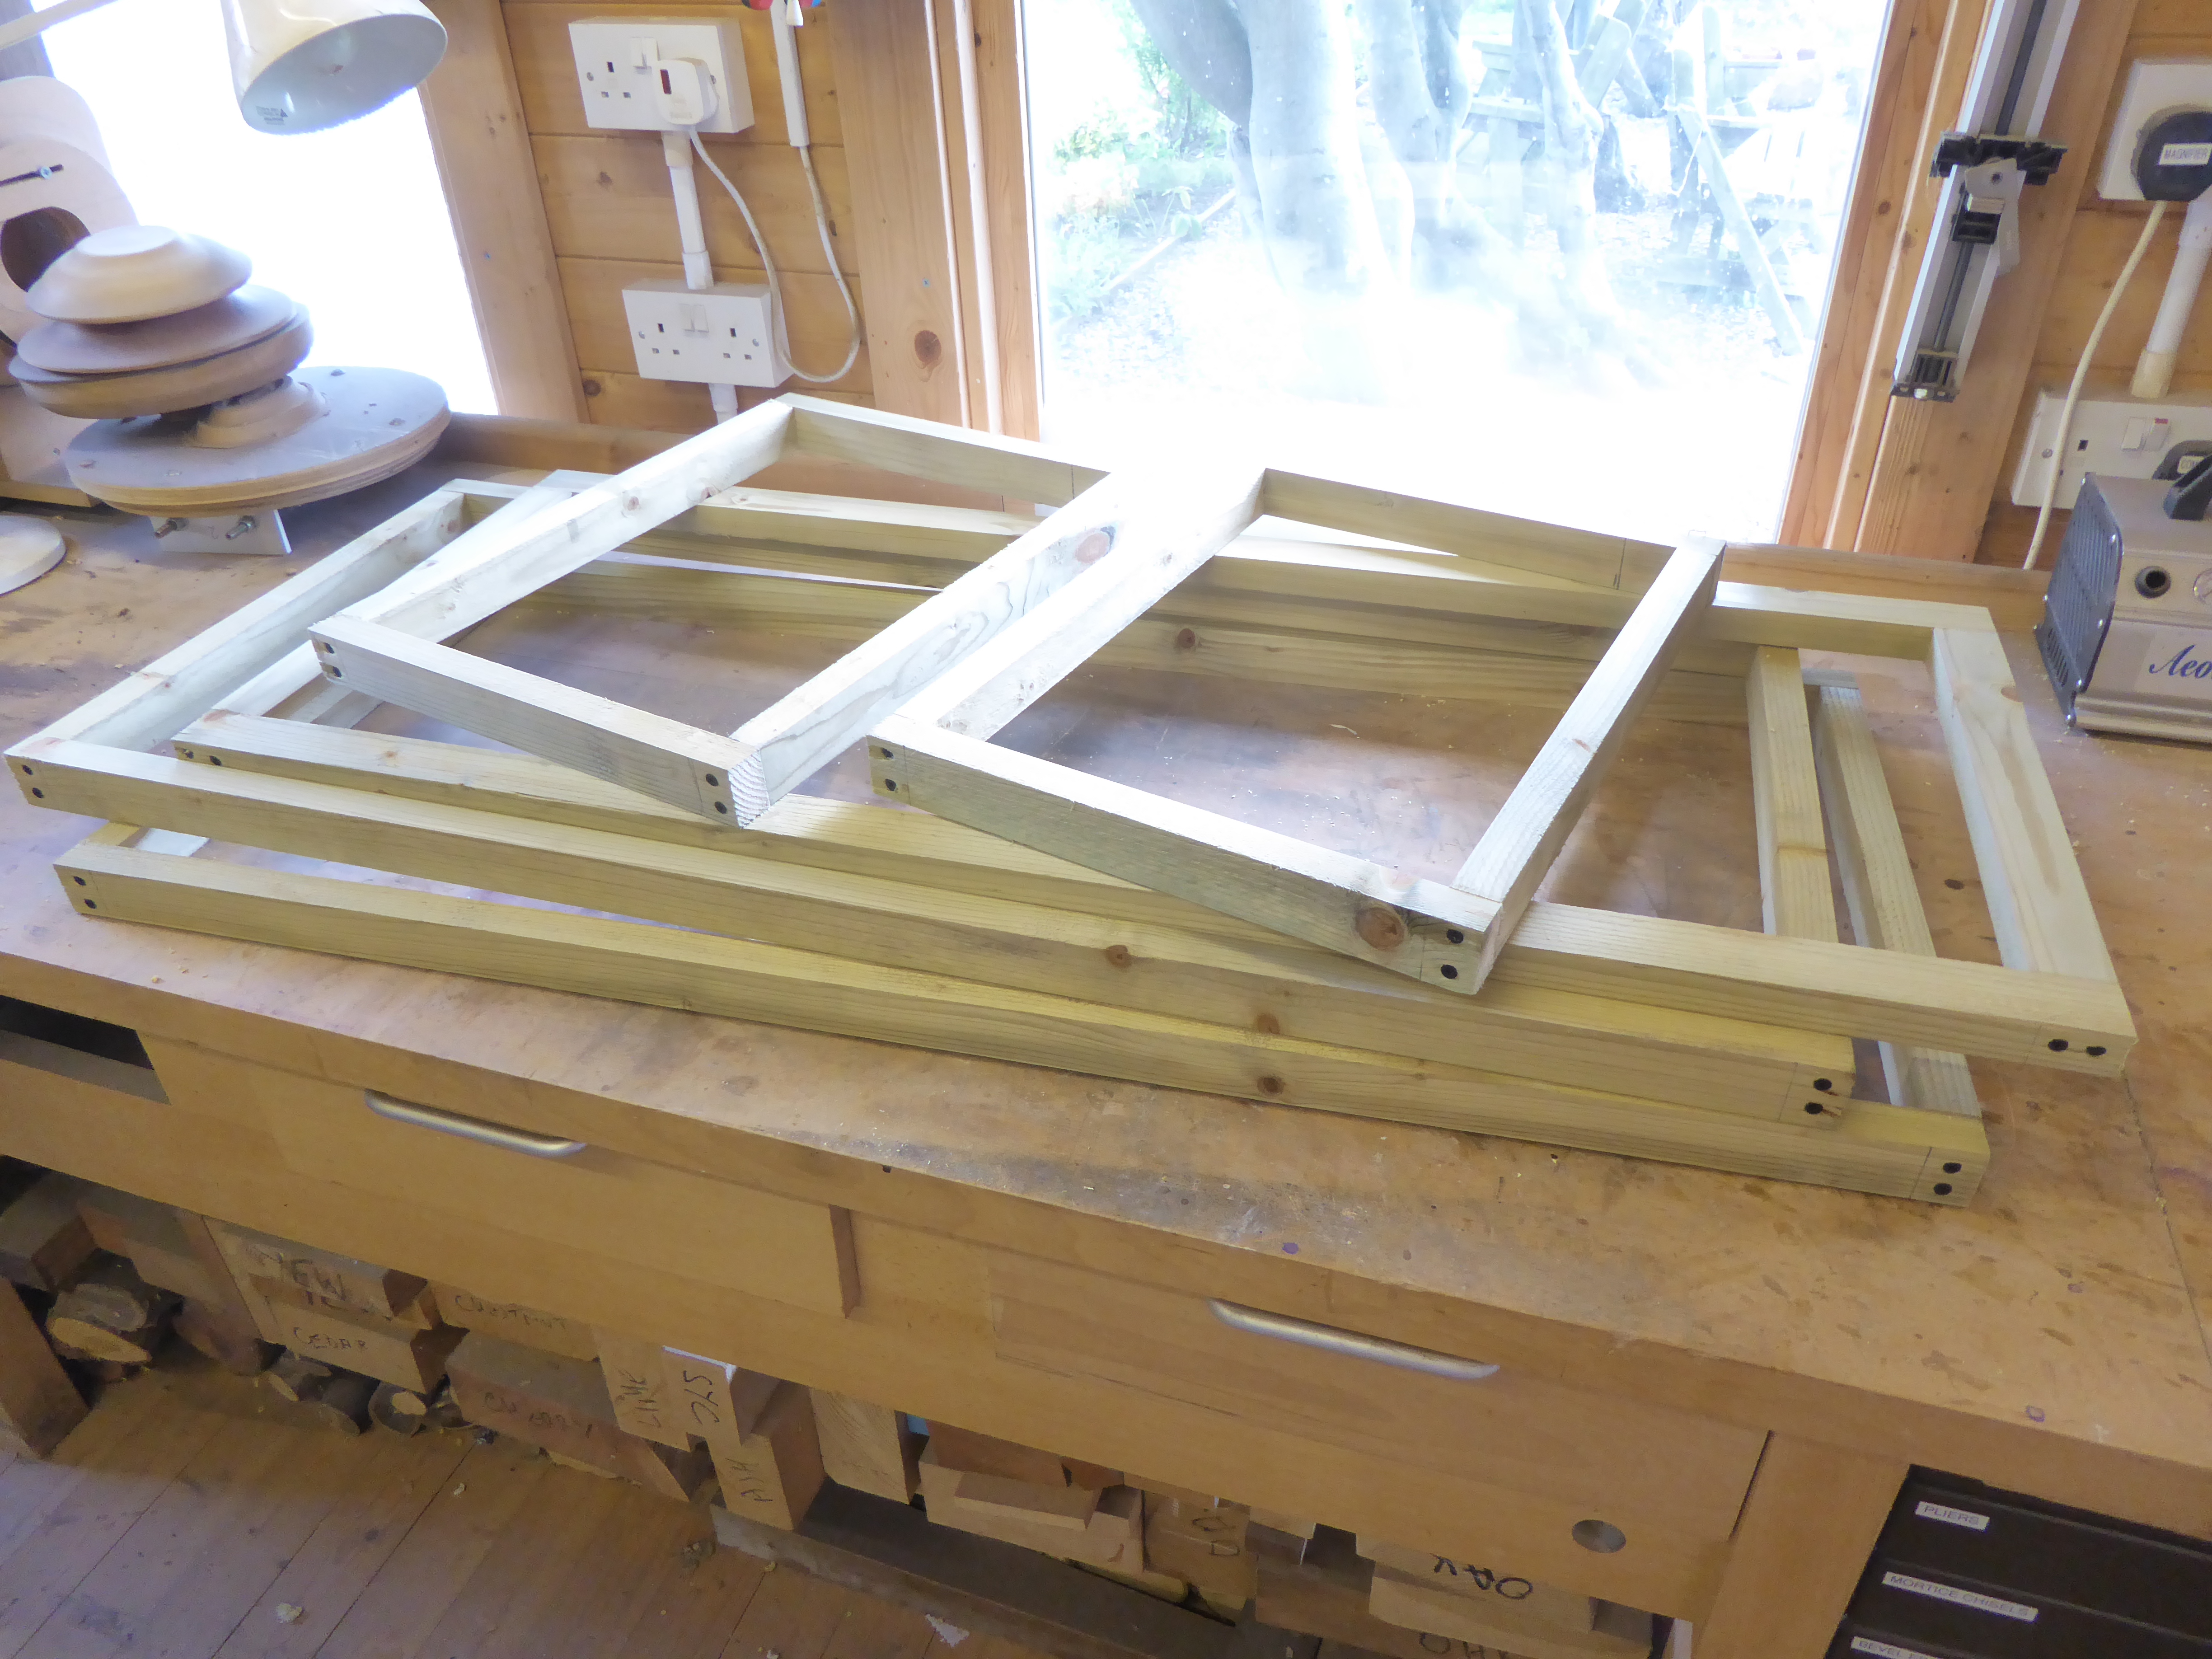
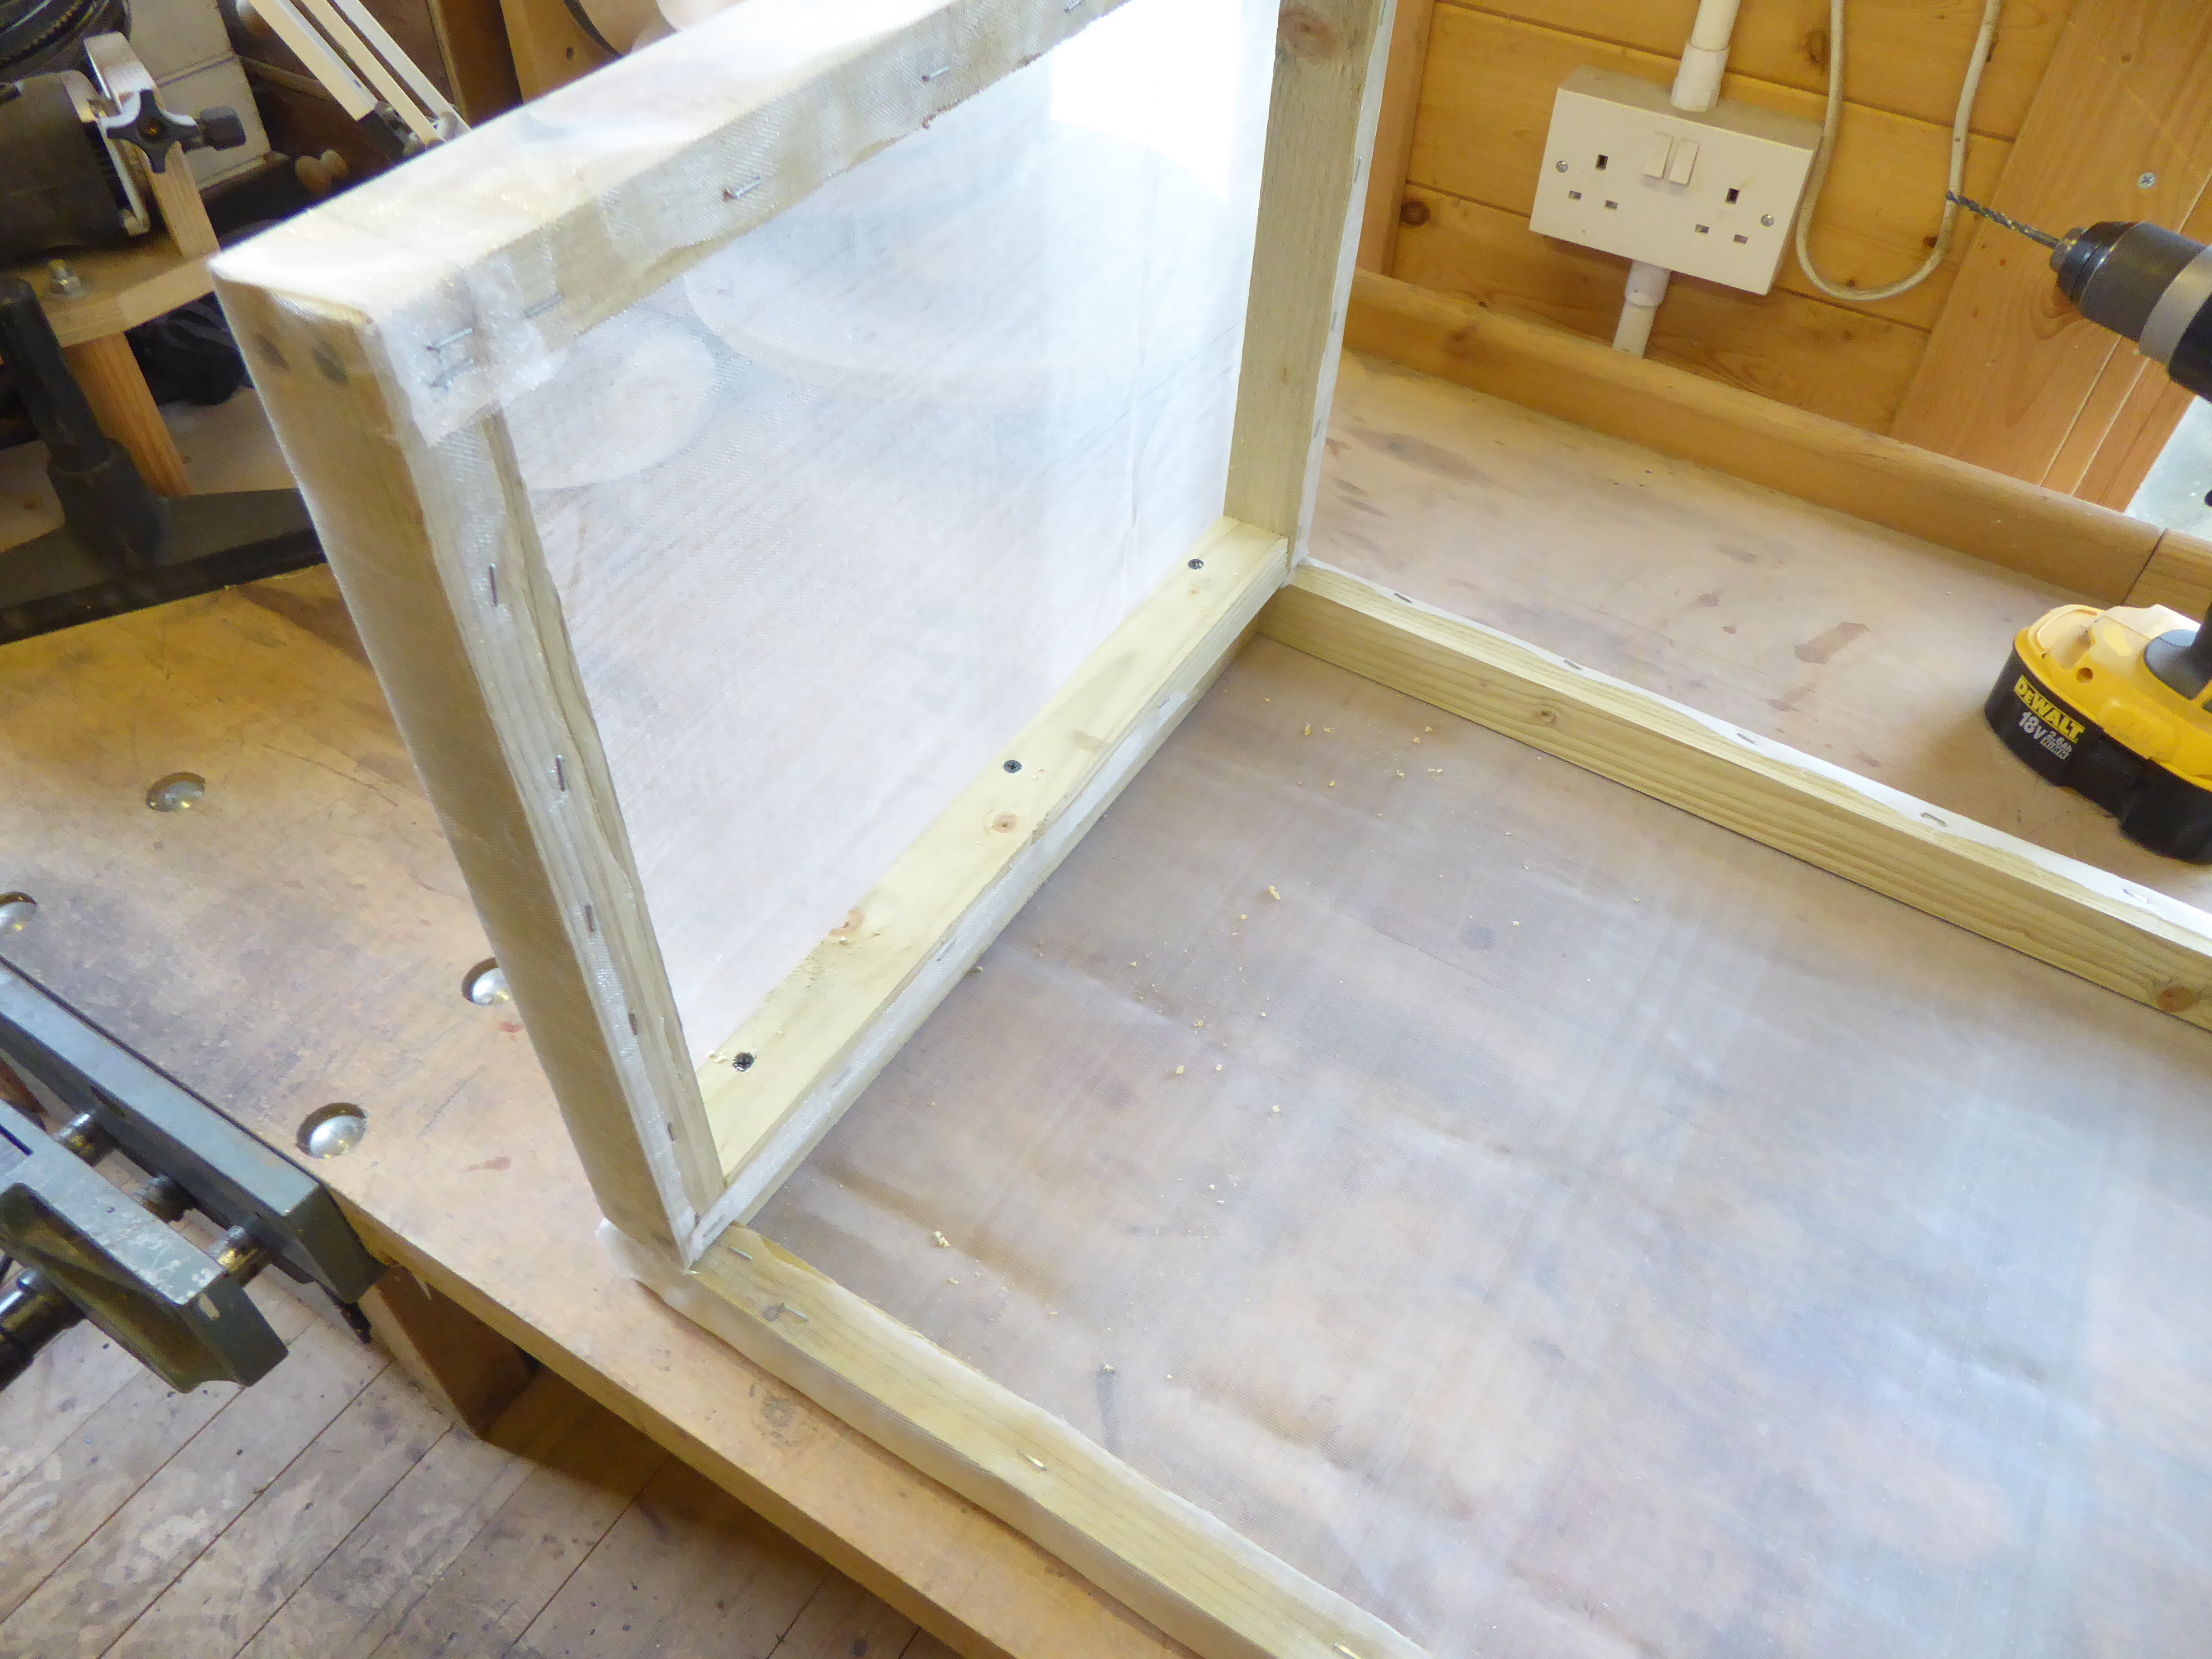
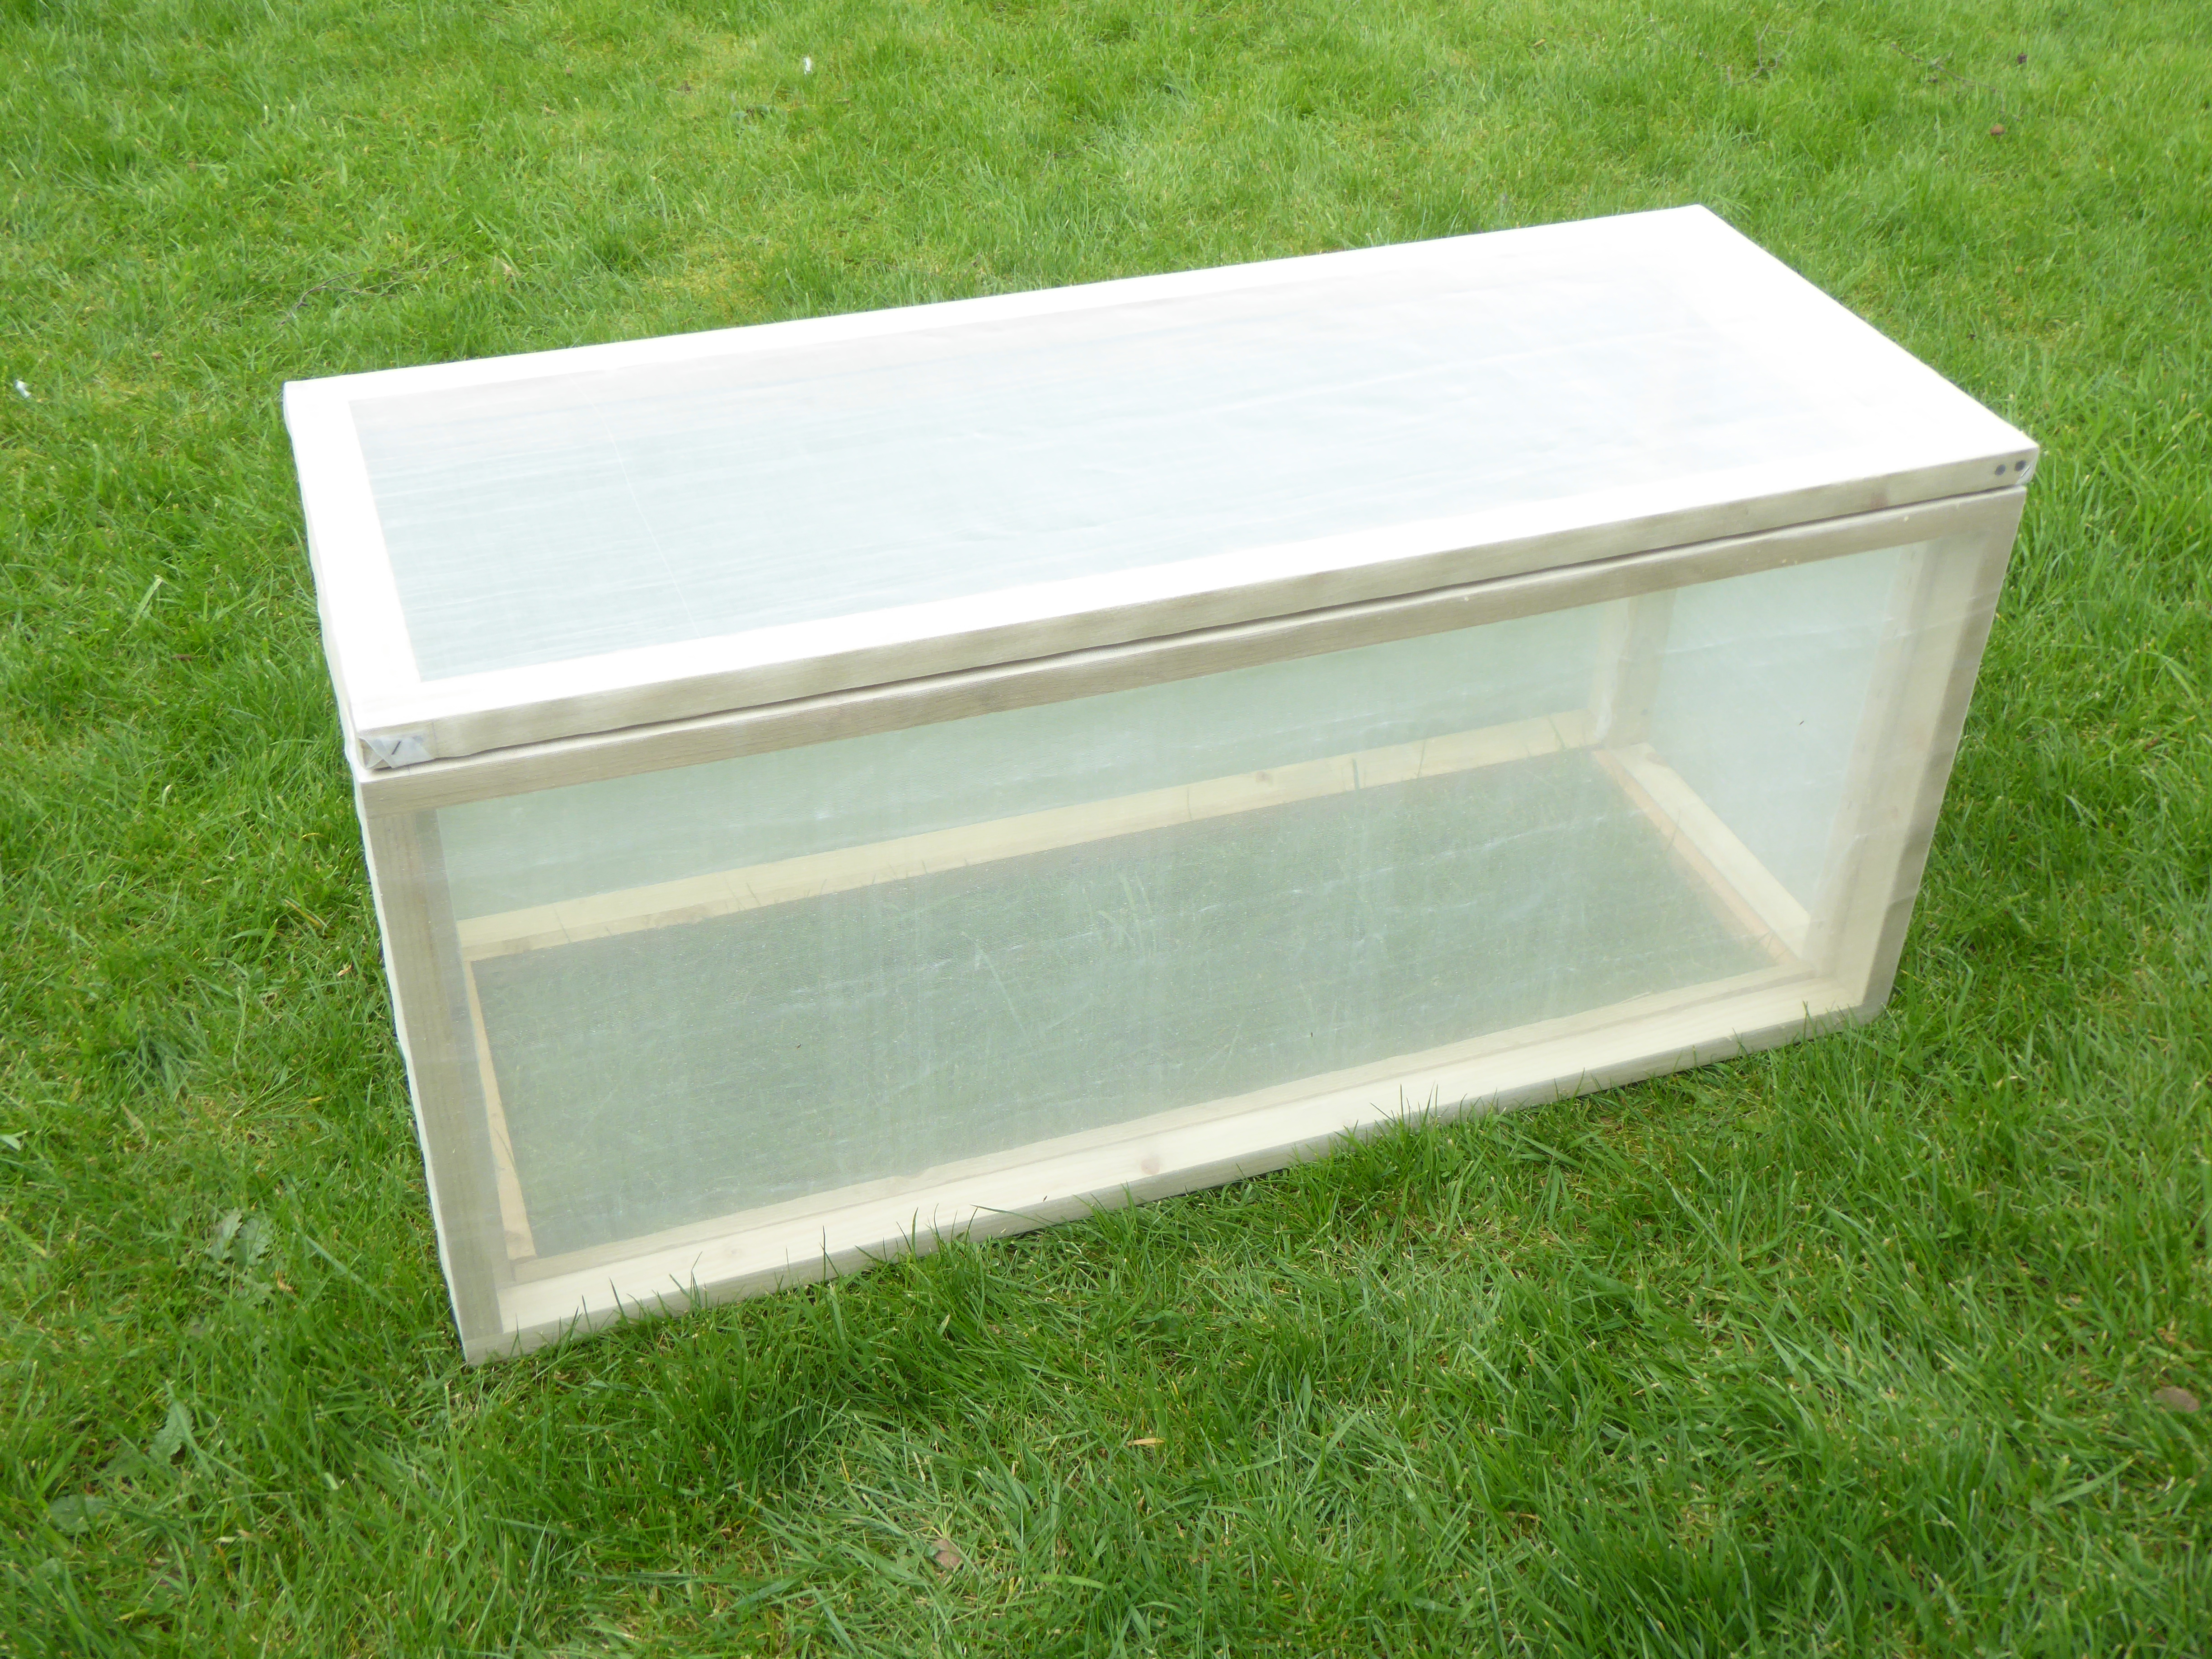
It is built from 25x38mm treated roof battens, you'll need eight 1800mm lengths, there are five parts to built, two sides, a front, back and lid.

The sides require four 42.5" (adjust length to suit your raised beds) and four 16.5" lengths.

The front and back require four 16.5" and four 14" lengths.

The 16.5" lengths set the height whilst the 14" the width which came about because after cutting a 42.5" length from 1800mm that left 28" ! (sorry about mixing my units but I generally prefer inches for woodwork)

The Lid requires two 42.5" and two 14" lengths.

The frames are joined using 55mm Drywall screws (e.g. Screwfix), the sides are assembled such that they are 38mm deep whilst the top is joined with the battens flat i.e. 25mm deep.

Carrot Cage Frames


Each frame is then covered with the mesh attached using staples 


CoveringFrame Complete


The frames are then ready for assembly, they are joined with screws from the inside edge as in the photo.

I've added some lengths of timber along the inside of the bottom edge to give some protection from the soil, you can just about see in the finished photo below.
 

CoveredAssembly


Finally I used a couple of 2" hinges to attach the Lid.


Finished


return to Gardening Home Page